When many of us think of a classic and timeless wedding style, the first thing that comes to mind is the Grace Kelly Wedding. It remains one of the most sought-after bridal looks in history. But what made this wedding so special? What secrets lie beneath the surface? In this blog post, let’s take a deep dive into the Grace Kelly wedding, discover the dress and bridal accessories, and uncover the details that made the Grace Kelly Wedding so iconic. Then let’s examine how milliner Tracy Young has sought to replicate one of its most essential accessories: the bridal headpiece. Let’s get started!
Table of Content
Sources for Research
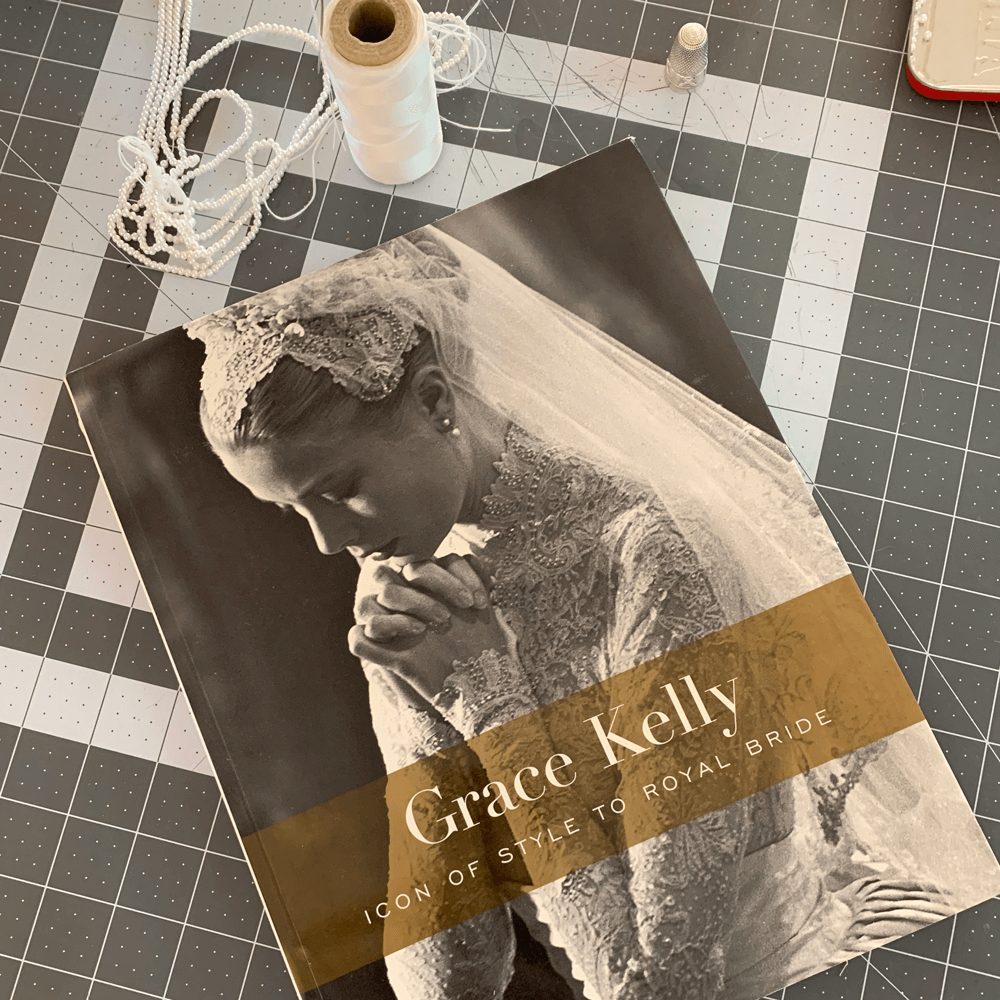
There are many sources of information and details about The Grace Kelly Wedding. The Grace Kelly Wedding Dress was designed by Helen Rose and made by the wardrobe department of MGM. It was given by Princess Grace to the Philadelphia Museum of Art and is periodically on exhibit. There is also a book that you can purchase Grace Kelly, Icon of Style to Royal Bride. In 2021, Vogue Magazine published an article with 40 insider photographs of the Grace Kelly wedding.
Overview of the Grace Kelly Wedding Dress
Grace Kelly’s wedding ensemble was the ultimate vision of romance, elegance, and timeless style. Her dress was comprised of 3 pieces: a delicate lace bodice, a rich silk satin skirt, and a faille cummerbund. The ensemble had an understated yet luxurious feeling. Finishing off the ensemble was the bridal headpiece, crafted from rose point Belgium lace, and embellished with pearls. It featured a single ethereal layer of tulle veil designed to allow the bride’s famous face to be visible.
To this day, the Grace Kelly wedding dress remains iconic and inspiring. For modern brides who want to channel timeless elegance on their special day, Grace Kelly’s wedding style is the perfect place to start. The simple sophistication and exquisite details ensure that it is a classic look that will never go out of style.
Re-creating the bridal headpiece from the Grace Kelly Wedding
Master milliner, Tracy Young has dedicated her career to creating classic bridal accessories. She frequently looks to iconic fashion as an inspiration for modern bridal headpieces. Recently, a bride who loves the Grace Kelly wedding inquired about having a bridal headpiece similar to the one worn at the Grace Kelly Wedding.
After looking through pictures of the Grace Kelly wedding, Tracy discovered that the Grace Kelly Wedding headpiece is a wire-covered frame popular in the 1950s. The lace motifs were detached from their original lace ground and then pieced together on the headpiece. The effect is a seamless lace headpiece. Pearls were hand sewn and added as an embellishment.
She was up for the challenge of replicating Grace Kelly’s iconic bridal headpiece. Young took great care in recreating this iconic bridal accessory. Using traditional millinery techniques she documented the process of creating a replica that honors the original design. She took great care given the historical significance of this iconic headpiece from the Grace Kelly Wedding.
Her attention to detail, mastery of millinery techniques, and years of experience were all needed to re-create this iconic piece.
Re-creating the Grace Kelly Wedding Bridal Headpiece
5 Steps to Making the Grace Kelly Wedding Bridal Headpiece
1. Create the Shape
2. Secure the Wire
3. Wrap the Wire
4. Add a Layer of Tulle
5. Apply the Lace
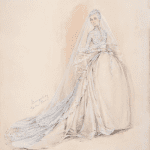
Grace Kelly Wedding Dress Illustration by Helen Rose
1. Create the Shape
You’ll want to have a photograph or a sketch of the bridal headpiece you are creating. It can be helpful to draw the shape on a head block using draping tape. Use a tape measure to calculate the length of wire that you’ll need. There is much trial and error involved as you begin to perfect the shape. Because I was working with photographs of the Grace Kelly Wedding, I ended up making several versions before finally creating a wireframe that I was happy with. The first version was too shallow and didn’t sit properly on the head. The next version was deeper but the point in the front was too low. Each time, I adjusted the draping tape on the head form and reshaped the wire. When making adjustments, it was important to try the wireframe on and compare it to the picture of the Grace Kelly Wedding.
2. Secure the Wire
Once you have shaped the wire, you’ll need to secure the ends of the wire. This is a multi-step process using classic millinery techniques. I don’t recommend taking shortcuts as it can result in the wires coming undone over time. Pictures of the Grace Kelly Wedding do not provide details about the join but knowledge of classic millinery techniques suggests that the overlap was most likely in the back. The wire overlap needs to be at least 2″ to prevent the wire from sticking out. You’ll want to mark both wires with a light-colored pen in case something moves. That way you only need to realign the markings. Start by using tape as a temporary way to hold the wires together. Tape the center of the overlap, the left side of the overlap, and then the right end of the overlap. Next, use glue to attach the wires and wrap the overlapped wires with a thick thread. I like to use UHU glue as it’s strong, easy to use, and dries clear. The thread will hold the wire more securely than only using an adhesive which can decay over time.
3. Wrap the Wire
You need to be able to attach fabric to the wire frame. In order to do this, you need to wrap the wire in tulle. The tulle will provide a base that you can sew. Cut a piece of tulle that is approximately 2″ wide and 72″ in length. Fold the width of the tulle into thirds to give you a clean finish on the edge as you wrap around the wireframe. You’ll need several strips to cover the entire frame.
4. Add a Layer of Tulle
Now you’ll need to create a foundation for the lace. It’s best to work in sections. I started by covering the back piece first. Take a piece of tulle that extends past the wireframe. Pin the tulle so that it is taut along the frame. You want the tulle tight enough that it will not sag under the weight of the lace that will be applied, but not so taut that it distorts the shape of the wire frame. Use enough pins to hold the tulle in place while you sew the tulle to the frame.
Use small stitches as they will be visible on the underside of the wireframe.
5. Apply the Lace
Applying lace reminds me of a puzzle. You cut out the lace elements and add them to the frame until everything is covered. Start with the areas that are highly visible. In this instance, the front point and the back panel. Use pins as you lay out the lace. This will allow you to move pieces around until you are satisfied with the placement.
I started with the back panel and cut out a large flower from the lace. If you’re using Alençon lace remember to secure the cording before you cut it to prevent the cord from unraveling. Once you are happy with the placement then sew the lace to the tulle using tiny in-and-out stitches. I prefer to use a single thread so it blends with the lace.
Grace Kelly Wedding
Contact Me
The Grace Kelly Wedding is one of the most iconic in history. It has stood the test of time, inspiring brides for generations with its timeless beauty, exquisite details, and simple sophistication
For the modern bride who wants to channel timeless sophistication on their special day, Grace Kelly’s wedding look is the perfect source of inspiration. With Tracy Young’s expert skill and masterful craftsmanship, she can create a stunning piece inspired by Grace Kelly’s iconic bridal headpiece. Click on the button below to contact her to discuss a timeless bridal headpiece inspired by Grace Kelly’s Wedding.